How to Setup a Tp-Link Range Extender using tplinkrepeater.net?

Hello Tp-link users!
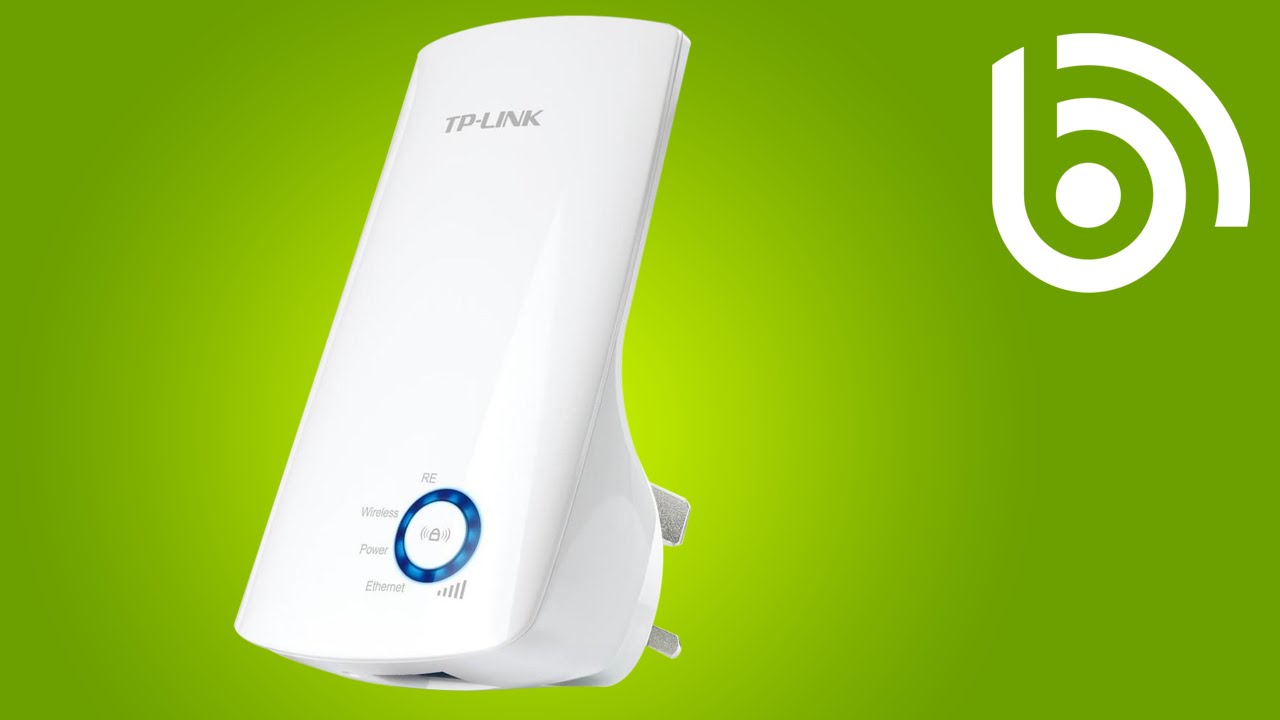
Installing a tp-link extender is
easy when you are equipped with the right information and follow the standard
guidelines. This blog will help you set up a link extender with the existing
router at your home.
In this post, you will learn
about the default IP of your tp link extender and the alternative URL i.e.
tplinkreperter.net.
A TP-Link range extender will
help you boost signal strength for your existing router and the access point
Network. Nowadays, most routers come with good coverage capabilities. However,
if you have a spacious home with multiple storeys to cover, a range extender is
the best option.
Let’s get started on how you can
set up a tp link range extender using tplinkrepeater.net.
Note- If you have an older tp
link extender that you are trying to set up again, please consider a hard reset
on it before installation.
Things You Need
A majority of range extenders are
plug and play devices. However, there are a few things you will need before you
begin installing a tplinkrepeater or doing tplinklogin.
● an
ethernet cable (optional)
● main
wireless device (wireless router) & information about wireless such as
network name (SSID), wireless password, encryption type.
● default
IP known as default gateway for tp-link range extender.
● device
with a full browser such as chrome, firefox, safari, etc.
● working
router and internet connection.
Look at the back or the bottom of
your tp-link extender, you can see a label that contains default SSID(network
name) & password for your new extender. You can also look for a
configuration card under the box of tp-link router for the same information.
Let’s get started and install the
tplinkrepeater:
Using
www.tplinkrepeater.net for setup

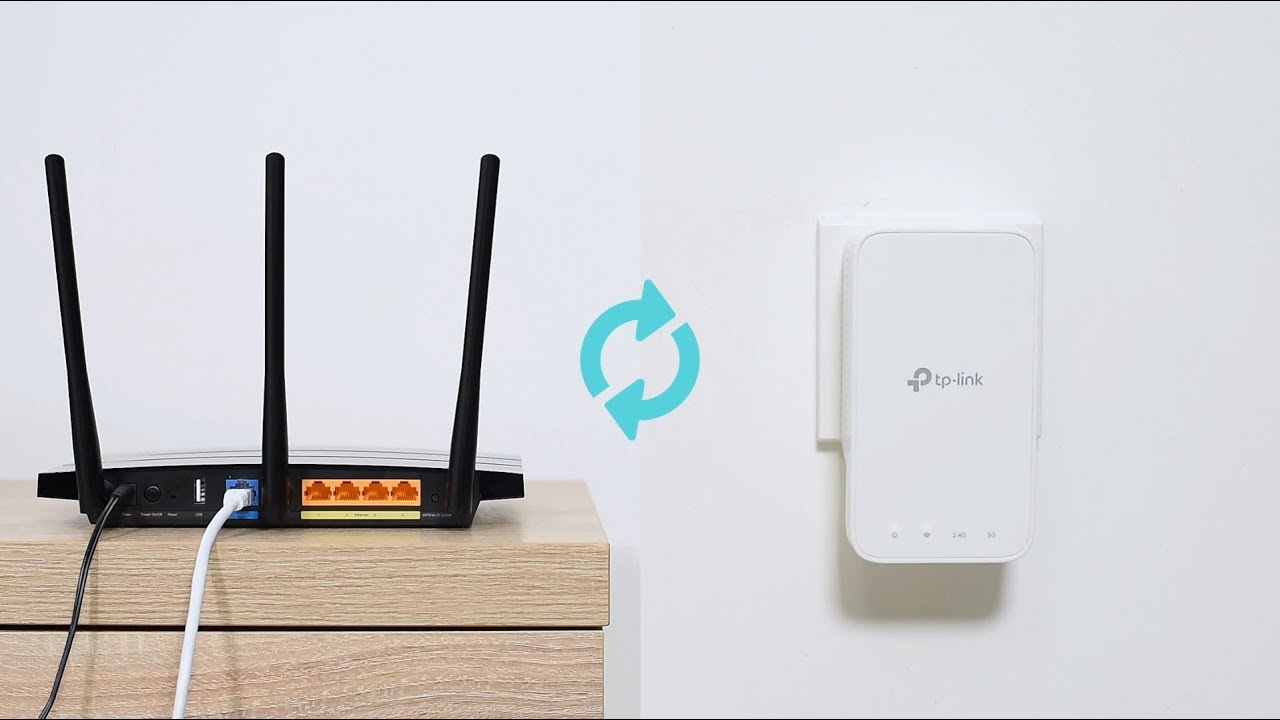
1. Plug your tp link range
extender to a power outlet near to your wireless router.
Power it on then wait for 20
seconds for it to boot up & so the lights on the repeater can go solid.
Tip- If you are using a smartphone or tablet to set up a TP-Link
range extender, turn on the WiFi on your device. In case you are using a
laptop, please disconnect any ethernet cables connected to it & make sure
the wireless is turned on in the laptop.
2. Go to your computer &
smartphone and refresh the available network list. You should be able to see a
new unsecured tp-link network, please connect with it.
3. It should automatically take
you to tplinkrepeater.net portal for configuration or you can open the browser
manually and type 192.168.0.254 or tplinkrepeater.net and hit enter.
5. Follow the onscreen quick-step
guide & hit next.
6. In the next step, select your
region and press Next. The extender will search for the available network
around you. Select the name of the one that corresponds to your main network
(the wireless that you would like to extend).
Configuring the
tplink repeater network
7. Enter the wireless password of
your existing wireless router & click next.
8. The next screen will let you
choose the security type, network name(SSID) for your new extended network. You
can customize the network name & password & security mode.
9. Setup a different password if
you want for your extender or leave it as it is. You can always change it by
logging into the tp link extender console. Review the settings & click on
the finish button.
10. The extender will reboot and
save the settings. After a minute please unplug the extender & plug it
somewhere between the place where you were having problems receiving the
signals.
Now you will be able to see solid
LED lights on the extender, which means the setup was successful. Use the
password to connect with your new extender & enjoy extended wireless
network.
Tip- Make sure you place your extender not far than 30-35 meters
from the main wireless router.
In any case, if the setup fails
to work please reset tplink range extender to default
settings & configure it again using www.tplinkrepeater.net web address.
The information in this blog will
be helpful to you in setting up a tplink range extender. Comment down below and
mention about the problems/ issues you faced during the setup and how you
resolved them.


Comments
Post a Comment